 ultimate-guide
Repairing Cast Iron Pipes in Homes: A Practical Guide
Last Updated: November 3, 2026
Quick Summary
Repairing cast iron pipes in homes starts with confirming the actual failure point before any work begins, since many failures are localized and a spot repair can solve the problem. Work from the fixture backward, check joints first, and use dye to confirm which fixture feeds the failed section.
- Cast iron fails at joints more often than mid-run, so wipe each joint dry and wait 15 minutes.
- A camera inspection is worth it when the pipe is buried or the leak location is unclear.
- Cut out a section when the pipe is split, collapsed, or has lost about a third of its wall thickness.
- Epoxy and patching compounds seal small defects but do not restore structural strength.
- Slab cutting, concrete patching, and finish restoration can make up a large share of total repair cost.
Table of Contents
- How to Inspect Cast Iron Pipes and Confirm the Source of a Leak
- Common Causes of Cast Iron Drain Pipe Damage
- Temporary Patches vs. Permanent Cast Iron Pipe Repair
- Cast Iron Pipe Repair Epoxy and Patching Compounds
- Using a Cast Iron Pipe Repair Sleeve or Coupling
- Cast Iron Drain Pipe Repair Cost and Cast Iron Pipe Lining Cost
- Repair or Replace: Permits, Codes, and Insurance Considerations
- Book a Camera Inspection Before You Approve Any Cast Iron Pipe Repair
- Frequently Asked Questions
How to Inspect Cast Iron Pipes and Confirm the Source of a Leak
Repairing cast iron pipes in homes starts with finding the actual failure point, not guessing at it. Confirming the source early prevents wasted demolition and larger water damage. EPA guidance on household plumbing and leak response
Cast iron pipe repair restores a damaged section of cast iron drain, waste, or vent piping rather than replacing the entire line.
Signs of Cracks, Splits, and Corrosion in Cast Iron Plumbing
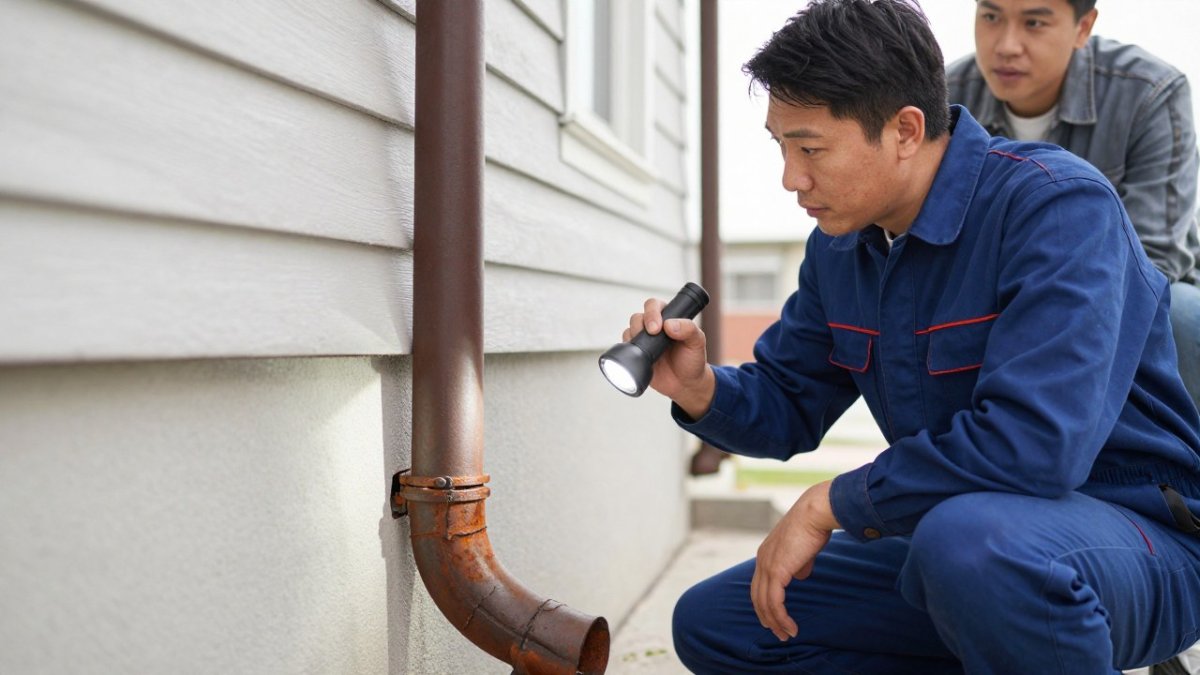
Look for rust-colored staining on the pipe surface, bubbling paint, a persistent musty smell, and slow drains that recur after clearing. A vertical split usually appears along the bottom of a horizontal run where water sits. Flaking, orange-brown scale signals advanced corrosion, and any of these means the pipe needs inspection before you plan a repair.
A Step-by-Step Method to Trace the Leak
Work from the fixture backward, because the leak is usually closer to the drain than homeowners expect.
- Isolate the fixture. Stop using one drain at a time and watch for the stain or drip to reappear. A leak that only shows after the upstairs tub drains points to the horizontal run serving that tub, not the main line.
- Check the joints first. Cast iron fails at joints more often than mid-run. Wipe each joint dry, wait 15 minutes, and look for a fresh bead of water or a dark damp line at the hub.
- Look for the stain pattern. A single round drip mark under one joint suggests a joint leak. A long horizontal rust streak along the bottom of a pipe suggests a wall split or pinhole cluster.
- Test with dye. Drop food coloring into a toilet tank or drain, flush, and watch the suspect area. Dye shows up at the leak point within minutes and confirms which fixture feeds the failed section.
- Check the vent side. A musty smell with no visible water can be a vent pipe leak above the ceiling line. Look for staining on ceiling drywall directly below a roof penetration.
When a Camera Inspection Is Worth It
A camera inspection is the right call when the pipe is buried, when the leak location is unclear after the steps above, or when a recurring clog suggests scale or a collapsed section rather than a single crack. For professional leak detection in Miami, FL to confirm where the cast iron leak is coming from, call Authentic Plumbing.
Watch out: a camera inspection confirms condition but does not always pinpoint an active leak on the outside of the pipe.
Distinguishing a Localized Crack from Widespread Corrosion
The decision that matters most is whether you are patching one defect or treating a deteriorated line. Use these signals:
- Localized crack or pinhole: one stain, one drip point, sound metal on both sides when tapped, and no scale falling from the interior.
- Widespread corrosion: multiple stains along a run, recurring clogs in the same line, flaking scale at joints, and a hollow or crumbling sound when tapped.
- Collapsed or bellied section: standing water in the line after use, gurgling at fixtures, and camera footage showing a sag or offset joint.
If two or more widespread-corrosion signals are present, a spot patch is a temporary measure at best. That is the point to price a section replacement or lining rather than another clamp.
Common Causes of Cast Iron Drain Pipe Damage
Age does most of the work. Cast iron drain pipe was standard in homes built through the mid-twentieth century, and decades of contact with waste water and sewer gas corrode the inner wall from the inside out, leaving a pipe that looks solid outside and is paper-thin within.
Other causes we see regularly:
- Root intrusion at joints, where roots enter and widen gaps
- Ground movement that shifts pipe and opens joints
- Improper venting that traps moisture and accelerates rust
A common mistake is treating a recurring clog as a drainage problem when the real issue is a collapsed or scaled section of cast iron. HUD residential rehabilitation guidance on older piping systems notes that older drain systems often fail at joints first, which is exactly where a camera inspection should look.
Temporary Patches vs. Permanent Cast Iron Pipe Repair
Temporary patches buy time. Permanent repairs stop the problem. A repair wrap or clamp over a small weep buys weeks or months, which is reasonable when you need to get through a season before a planned replacement. It is not a fix.
Permanent options fall into three groups:
| Method | Durability | Best For | Limitation |
|---|---|---|---|
| Epoxy or patching compound | Moderate | Small pinholes, surface cracks | Fails on active leaks or thin walls |
| Repair sleeve or coupling | High | A cut-out section with sound pipe on both sides | Requires accessible pipe |
| Pipe lining | High | Long runs with widespread corrosion | Higher upfront cost |
Watch out: patching a pipe that is actively leaking under pressure will fail within days, and the water damage that follows usually costs more than the correct repair. For the deeper walkthrough on patching methods, our step-by-step cast iron repair guide covers the materials and sequence in detail. For work beyond a patch, drain cleaning and cast-iron replacement is where a permanent fix begins.
When a Damaged Section Needs to Be Cut Out and Replaced
Cut out the section when the pipe is split, collapsed, or has lost more than roughly a third of its wall thickness across a length longer than a coupling can span. Sound pipe on both sides is the deciding factor. If the metal crumbles when you cut it, the corrosion is broader than the visible damage and a spot repair will not hold.
Cast Iron Pipe Repair Epoxy and Patching Compounds
Cast iron pipe repair epoxy is a two-part compound applied to a cleaned, dry surface to seal pinholes and hairline cracks. It works best on vertical runs and small defects.
Patching compound follows the same rule: it fills and seals, but does not restore structural strength. Neither product fixes a split under pressure.
What most guides miss is that epoxy is a bridge, not a cure.
Using a Cast Iron Pipe Repair Sleeve or Coupling
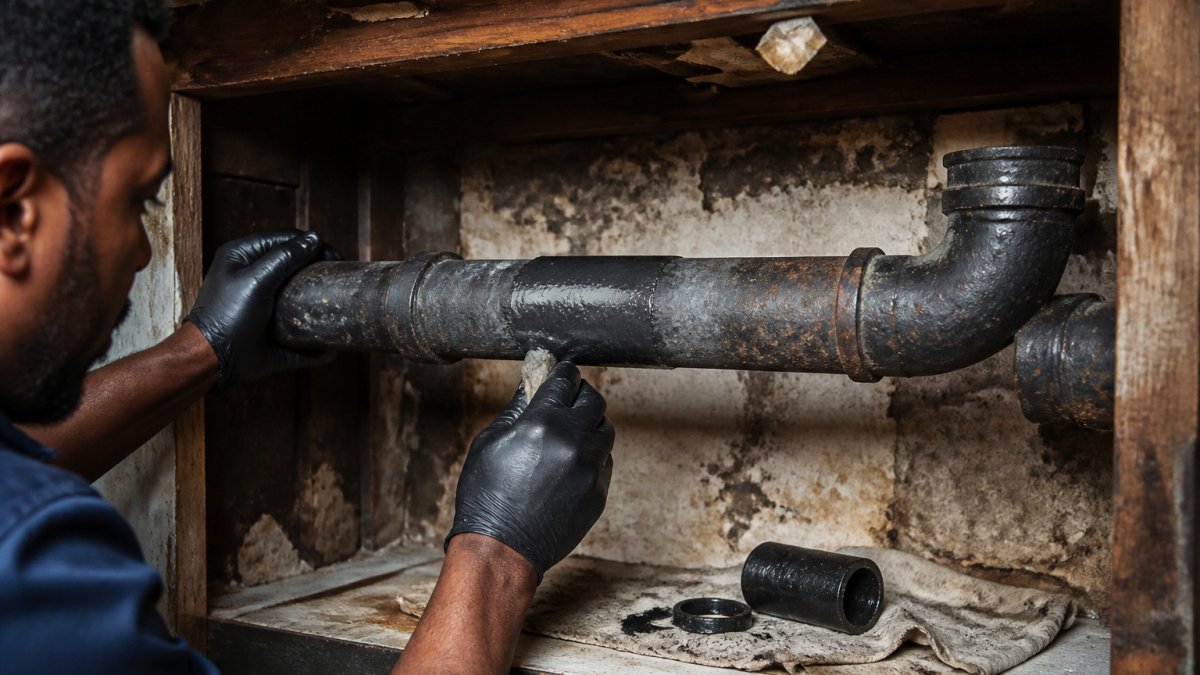
A cast iron pipe repair sleeve, or a rubber coupling with stainless steel bands, joins two sound pipe ends after the damaged section is cut out. This is the most reliable spot repair for accessible drain pipe.
The sequence matters:
- Shut off water use on that line and drain it
- Mark the cut lines beyond the damaged area
- Cut with a sawzall fitted with a cast iron blade, or an angle grinder
- Deburr both cut ends and check for remaining cracks
- Slide the coupling on, center it, and tighten the bands evenly
Safety first: cast iron is heavy, and a cut section will fall. Support the pipe before you cut, wear eye protection, and keep a fire extinguisher nearby if you use a grinder.
Cast Iron Drain Pipe Repair Cost and Cast Iron Pipe Lining Cost
Cast iron drain pipe repair cost depends on access, pipe length, and whether the line sits under a slab. A straightforward coupling repair on exposed pipe in a basement or crawlspace is the least expensive scenario.
Cast iron pipe lining cost is driven by a different set of factors, covered below. We do not quote prices over the phone for either, because an accurate figure requires seeing the pipe.
What Drives Cast Iron Drain Pipe Repair Cost
Four variables move the number more than anything else:
- Access. Exposed pipe in a basement or crawlspace is the cheapest to reach. Pipe behind a finished wall, under a slab, or below grade adds demolition and restoration, which can exceed the plumbing work itself.
- Length of the cut-out. A single coupling spans a short section. A longer deteriorated run needs more pipe, more couplings, and more labor.
- Pipe diameter. Larger drain and sewer lines cost more per foot in materials and take longer to cut and fit.
Slab cutting, concrete patching, and finish restoration can make up a large share of the total cost. Ask for the quote to separate plumbing labor and materials from access and restoration so you can see where the money goes.
What Drives Cast Iron Pipe Lining Cost
Lining cost rises with run length, the number of bends and connections, and the condition of the host pipe. Cured-in-place pipe lining, sometimes called trenchless repair, installs a resin-saturated liner inside the existing pipe and cures it in place.
Lining cost depends on the length and condition of the run, and it generally makes more economic sense on longer runs than on a single short repair.
Repair vs. Lining vs. Replacement: How the Economics Compare
- Spot repair (coupling or sleeve): lowest upfront cost, best when damage is localized and the surrounding pipe is sound. Does nothing for corrosion elsewhere in the line.
- Pipe lining: higher upfront cost than a spot repair, but addresses widespread interior corrosion along a run without digging. Best value when the pipe is still structurally sound and access is expensive.
- Full replacement: highest upfront cost, but the only option when the line is collapsed, bellied, or too deteriorated to line. Resets the service life of the line.
Comparing only the upfront number can be misleading, since a patch on a line with widespread corrosion may need a second repair.
Watch out: a quote that does not include the camera inspection, permit fees, or restoration is not comparable to one that does. Ask each contractor what is excluded before you compare totals.
Getting an Accurate Number
Pricing depends on access, pipe length, and site conditions, so a quote is based on an assessment of the specific line. Contact Authentic Plumbing Services for a current quote. A camera inspection first keeps a repair from turning into a guess and gives you footage to compare quotes on equal terms. If you are weighing repair against replacement and want a straight answer on your specific line, contact our team to talk it through and get a quote.
Repair or Replace: Permits, Codes, and Insurance Considerations
Replacing a short section of drain pipe is generally a repair. Replacing a full line, or any work on the main sewer line, often requires a permit and inspection.
Insurance is the other half. Document the damage with photos before anything is removed, and keep the inspection report. Insurance Information Institute guidance on water damage claims explains how sudden versus gradual damage is typically treated.
If you are weighing repair against replacement and want a straight answer on your specific line, contact our team to talk it through and get a quote.
Book a Camera Inspection Before You Approve Any Cast Iron Pipe Repair
Approving a repair without seeing inside the pipe is a gamble. A camera inspection tells you the pipe's actual condition, the location of the failure, and whether a spot repair will hold or the line needs more, the difference between a fix and a repeat visit.
Authentic Plumbing Services uses sewer camera inspections to identify the real cause before any digging, and we are open 24 hours, seven days a week, serving homes, condos, and businesses. Book a camera inspection before you approve a repair, or call us and we will walk you through what the camera shows.
Frequently Asked Questions
Does homeowners insurance cover replacing cast iron pipes?
Most standard policies cover sudden, accidental damage, such as a pipe that bursts and soaks drywall, but they usually exclude wear, corrosion, and deterioration, which is what fails in old cast iron. Some insurers offer limited service-line or water-backup coverage as an add-on. Read your policy's exclusions and ask your insurer directly before you authorize work, and keep photos and the plumber's written findings so a claim is easier to support.
Can cast iron plumbing be repaired, or does it always need replacing?
Localized cast iron pipe repair is often possible. A short crack, a pinhole leak, or a failed joint can be fixed with epoxy, a repair sleeve, or a cut-out section joined with couplings. Replacement becomes the better call when corrosion is widespread, the pipe wall is paper-thin, or the line has collapsed. A camera inspection tells you which situation you are in before any digging starts.
Can a cast iron pipe repair sleeve stop a leak?
A repair sleeve or clamp with a rubber gasket can stop a leak at a crack or joint, and it works well as a long-term fix on a sound section of pipe. It will not save a pipe that is crumbling or badly corroded, because the clamp has nothing solid to grip. Clean and dry the surface first, and have a plumber confirm the pipe wall is still thick enough to hold the sleeve.
How long does cast iron pipe lining last?
The lifespan of cured-in-place pipe lining depends on the liner material, installation quality, and how much of the original pipe is still intact. Lining avoids digging. It only works if the existing pipe can hold the liner, so a camera inspection comes first.
What is the life expectancy of cast iron plumbing?
Cast iron drain lines often fail after many decades of service, but actual life depends on water chemistry, soil conditions, and how the pipe was installed. Homes built in the 1950s and 1960s are now at or past that mark. Rust, scale, and channeling on the inside of the pipe are the usual reasons it fails earlier than expected.
How do you repair a cracked cast iron drain pipe?
For a small crack, clean the area, apply an epoxy or patching compound rated for cast iron, or clamp on a repair sleeve. For a longer split or a crushed section, cut out the damaged length with a sawzall fitted with a cast iron blade and join new pipe with couplings. Drain lines carry waste, so confirm the repair is watertight before backfilling or closing up the wall.
When should a cast iron pipe be repaired instead of replaced?
Repair makes sense when damage is confined to one spot and the rest of the pipe is still solid. Replacement wins when corrosion runs along most of the line, when joints are failing one after another, or when the pipe has collapsed. A plumber's camera inspection shows the condition of the whole run, which is the only reliable way to choose between the two.
A failing cast iron line will not fix itself, and patching the wrong section wastes money twice. Get a camera inspection from Authentic Plumbing Services, see the actual condition of your pipe, and get a clear recommendation before anyone cuts. We offer 24/7 emergency response, camera-first diagnosis before any digging, and a plain explanation of what we found and what it will take to fix it. Get started with Authentic Plumbing Services and repair the right section the first time.