 how-to
How to Fix Cast Iron Pipes: A Step-by-Step Repair Guide
Table of Contents
- Recognize the Signs of Failing Cast Iron Pipes
- Diagnose the Damage: A Decision Tree for Cast Iron Pipe Repair
- How to Seal a Crack in a Cast Iron Pipe
- When Cast Iron Drain Pipe Replacement Is the Only Option
- Tools, Materials, and Safety for Cast Iron Pipe Repair
- Repair Durability, Costs, and When to Call a Professional
- Conclusion
- Frequently Asked Questions
Last Updated: October 24, 2026
Recognize the Signs of Failing Cast Iron Pipes
Cast iron pipes fail from the inside out, so the first warning signs usually show up in your drains, not on the pipe itself. This guide from Authentic Plumbing Services covers how to fix cast iron pipes, from spotting early damage to choosing the right repair method. Before you learn how to fix cast iron pipes, you need to know what a failing line looks like.
A cast-iron drainpipe is a heavy metal waste line common in homes built before the 1980s. It lasts decades, but it does not last forever. Watch for these signs of failing cast iron pipes:
- Rust-colored water in a sink, tub, or basement drain
- Slow drains that keep backing up after snaking
- Pinhole leaks or damp spots along a soil pipe
- A cracked or broken pipe joint
- Sagging or collapsed sections under the floor
The U.S. Environmental Protection Agency notes that aging underground infrastructure is a leading cause of hidden leaks and water loss. The same logic applies inside your home.
Diagnose the Damage: A Decision Tree for Cast Iron Pipe Repair
Diagnosis comes before any repair, and the fastest way to see inside a cast iron drain is a flexible sewer camera. The decision tree below matches the damage you find to the right method, and it adds the severity thresholds most guides skip.
Step 1: Confirm what the pipe carries
Before you touch anything, confirm the line is a drain. Cast iron was also used for gas and water lines in older homes, and cutting the wrong pipe is dangerous. Trace the pipe back to a fixture, check for a trap, and look for the characteristic bell-and-spigot joints of a drain line. If you cannot confirm it, stop.
Step 2: Locate and measure the damage
- Reachable pipe (basement, crawlspace, utility room): inspect by hand and with a flashlight. Look for rust scale, weeping joints, pinholes, and hairline cracks.
- Hidden pipe (under slab, behind wall): a camera inspection is the only reliable way to see the interior. A camera run can cost less than exploratory digging and prevents tearing into the wrong spot.
Step 3: Classify the damage
| What you find | Severity | Likely method |
|---|---|---|
| Pinhole leak or hairline crack on a dry, reachable pipe | Low | Epoxy and cloth patch |
| Crack or pinhole on a pressurized line | Low to moderate | Repair clamp |
| Rust scale or rough interior with recurring clogs | Moderate | Clean and reassess; consider lining |
| Offset joint, bellied section, or collapsed pipe | High | Replacement or pipe lining |
| Multiple leaks along one run | High | Sectional or full replacement |
| Hidden leak under a slab | High | Professional leak detection, then repair or replacement |
Step 4: Apply the repair-or-replace test
A pipe is a candidate for patching only when it still has structural strength. Ask three questions:
- Is the pipe still round and aligned? An offset or bellied line cannot be bridged by a patch.
- Is the damage isolated? One pinhole is patchable; five leaks along the same run usually means the pipe is failing everywhere.
- Is the pipe wall still thick? Heavy rust scale and flaking mean the metal is thin, and a clamp or patch will not hold long.
If the answer to any of these is no, move to replacement or lining rather than a stopgap.
A common mistake is patching the first leak you see while a second one is forming a few feet away. Before deciding whether to repair or replace, many homeowners want a camera inspection to see what is actually inside the pipe. You can look inside before anyone digs with a sewer camera inspection.
How to Seal a Crack in a Cast Iron Pipe
You seal a crack in a cast iron pipe by cleaning the surface, then bonding a two-part epoxy and cloth reinforcement over the crack. This works on small, dry cracks and pinhole leaks, not on a pipe that is actively spraying water.
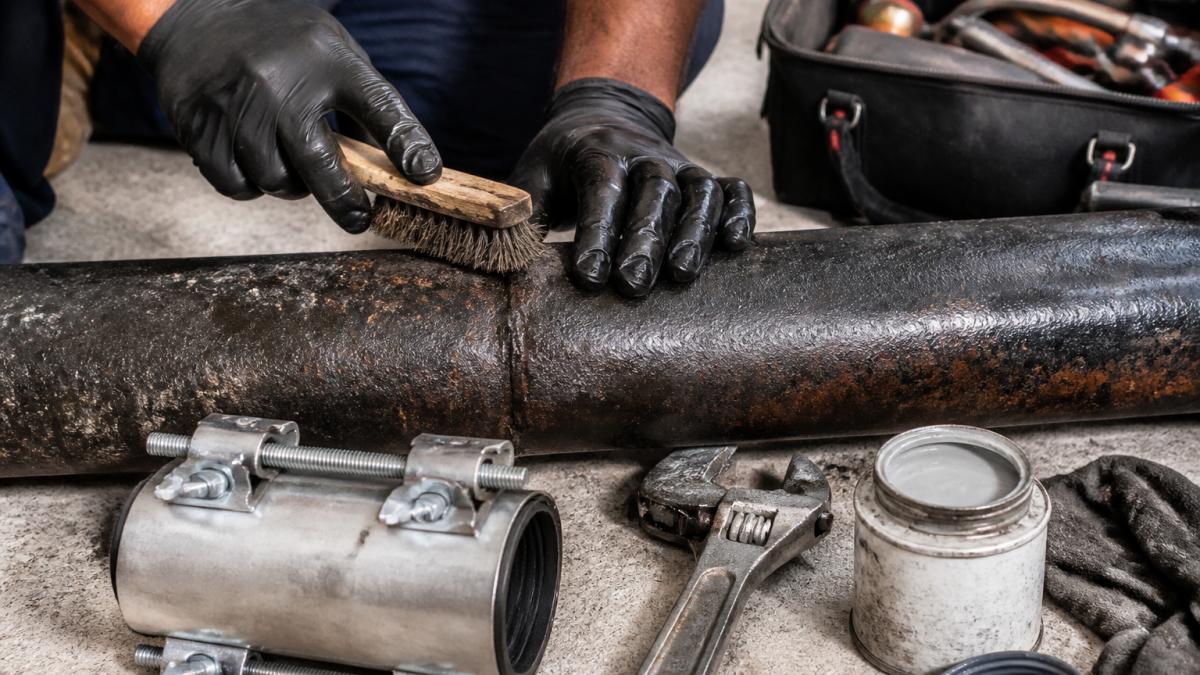
Step-by-Step: Epoxy and Cloth Repair for Small Cracks
- Shut off the water and drain the line.
- Clean the pipe with a wire brush until bare metal shows.
- Dry the surface completely. Epoxy will not bond to a wet pipe.
- Mix the two-part epoxy and apply a thin layer over the crack.
- Wrap cloth reinforcement around the patch while the epoxy is tacky.
- Add a second epoxy coat over the cloth and let it cure fully.
Surface preparation decides whether the patch holds. Skip the wire brush and the epoxy peels off within weeks.
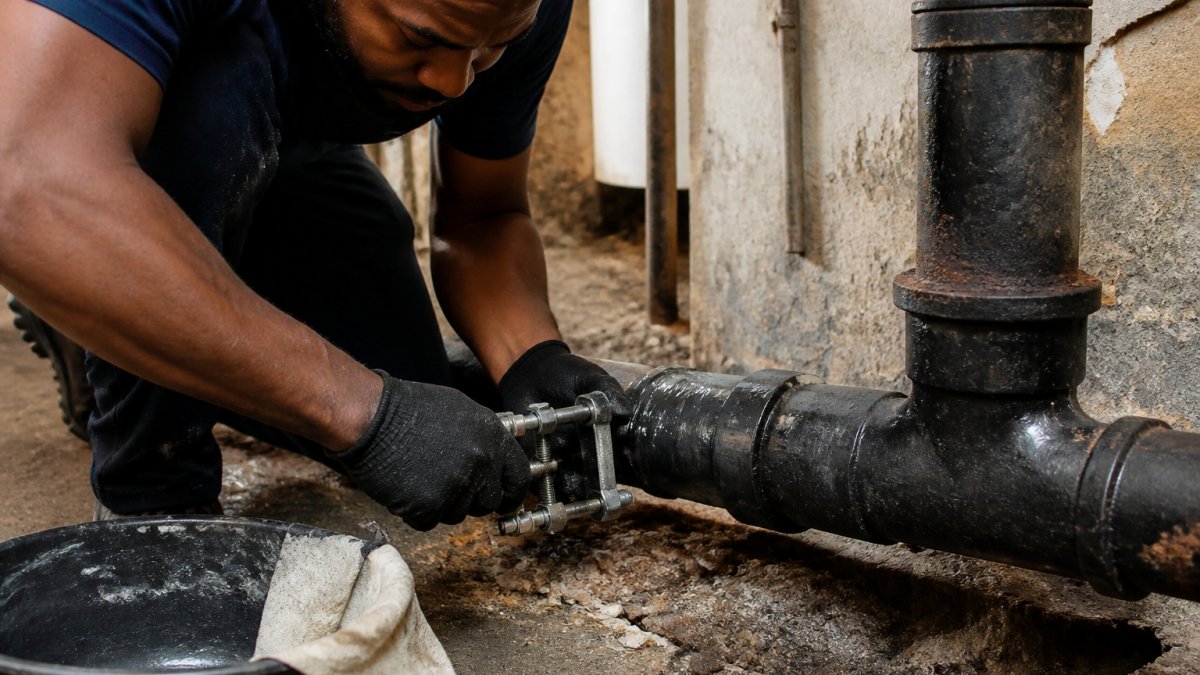
Step-by-Step: Using a Cast Iron Pipe Repair Clamp
- Measure the pipe diameter so the clamp fits.
- Clean and dry the area around the leak.
- Center the clamp over the crack or pinhole.
- Tighten the bolts evenly in a cross pattern.
- Check for leaks under normal pressure.
When Cast Iron Drain Pipe Replacement Is the Only Option
Replacement is the only real option when the pipe has lost its structural strength. Patch methods fail on a pipe that is cracked through, offset at a joint, or rusted thin.
Signs that cast iron drain pipe replacement is the right call:
- Multiple leaks along one run of pipe
- A collapsed or bellied underground line
- An offset pipe that no patch can bridge
- Heavy corrosion and disintegration across the pipe interior
Pipe lining, or pipelining, is a middle path. A sleeve or epoxy lining coats the inside of the pipe and restores it without full excavation. It works when the pipe is still shaped correctly, but not when it has collapsed. When replacement is the verdict, you can book drain cleaning and cast-iron replacement with a crew that handles the whole job.
Tools, Materials, and Safety for Cast Iron Pipe Repair
Safety gear and the right tools matter more than speed on cast iron work. Cast iron is heavy and can fail without warning.
What you'll need:
- Wire brush and sandpaper for surface preparation
- Two-part epoxy and cloth reinforcement
- Cast iron pipe repair clamp sized to the pipe
- Pipe cutter for cutting out a damaged section
- Drill for pre-drilling clamp holes
- Gloves, eye protection, and a respirator
Repair Durability, Costs, and When to Call a Professional
A patch holds for a while; a proper repair holds for years. The difference is diagnosis and method choice. This section compares how long each approach lasts, what makes a repair fail, and what drives the price so you can decide when a pro is the right call.
How long each repair lasts
- Epoxy and cloth patch: a stopgap. A well-prepped patch holds for months to a few years on a dry, low-pressure crack, but it does not restore structural strength.
- Repair clamp: also a stopgap on a pressurized line. A clamp can last years if the pipe wall is sound, but on a corroded pipe it hides a worsening problem underneath.
- Pipe lining (pipelining): a long-term repair when the pipe is still round and aligned. A cured-in-place sleeve bonds to the interior and can last decades, but it cannot fix a collapsed or offset line.
- Sectional replacement: a long-term repair for an isolated failed section. The new section outlasts the surrounding pipe, which is why many pros replace a longer run once one section fails.
- Full replacement: the longest-lasting option and the right call when the pipe has lost structural strength along its length.
What makes a repair fail
- Poor surface prep: epoxy peels off a wet or dirty pipe within weeks.
- Wrong method for the damage: a clamp on a collapsed or offset line will not seal.
- Hidden second leak: patching one spot while another is forming nearby.
- Corrosion continues: a patch does not stop rust, so a thin pipe keeps thinning around the repair.
- Pressure and movement: a clamp on a line that shifts or vibrates loosens over time.
What drives the cost of cast iron pipe repair
Pricing depends on the job, not a flat rate. The main drivers are:
- Access: a reachable pipe in a basement or crawlspace costs far less than one under a slab, where breaking and restoring concrete adds labor and materials.
- Method: a clamp or epoxy patch costs less than lining, and lining costs less than full replacement.
- Length and diameter: one crack versus a full run of underground line, and larger-diameter pipe takes more material and time.
- Diagnosis: a camera inspection adds a line item but prevents wasted digging and wrong-method repairs.
- Permits and code: some jurisdictions require a permit for drain line replacement, and older homes may trigger additional inspection requirements.
We quote each job after we see the problem, so you know the scope before work starts. To get a quote, you can call or send a request any hour of the day.
When to call a professional
Call a pro when:
- The leak returns after a patch
- Water is under a slab or behind a wall
- The pipe is offset, collapsed, or heavily corroded
- You are not sure what the pipe carries
- The job requires a permit or a licensed plumber in your jurisdiction
A stopgap buys time; a diagnosis buys the right fix. If you are facing a hidden or slab leak, you can find the leak before digging rather than guessing at the repair.
Conclusion
Cast iron repair comes down to one honest question: is the pipe still strong enough to fix, or is it time to replace it? Guessing costs money. A camera inspection answers it. Authentic Plumbing Services is open 24 hours, uses camera inspection to find the real cause before digging, and serves homes, condos, and businesses. You can see the full range of plumbing services we offer. Get a quote and fix it right the first time.
Frequently Asked Questions
Can a cracked cast iron pipe be repaired without replacing it?
Yes, small cracks and pinhole leaks can often be repaired with epoxy, cloth reinforcement, or a repair clamp. These methods work best on accessible sections with minor damage. However, if the crack is large, the pipe is offset, or corrosion is widespread, replacement or professional relining is the safer choice. A camera inspection helps determine whether a repair will hold.
How do you seal a crack in a cast iron pipe?
Clean the pipe with a wire brush, apply a two-part epoxy putty or hybrid adhesive, and wrap fiberglass cloth around the crack while the epoxy is tacky. For pinhole leaks, a repair clamp with a rubber sleeve is faster. Always shut off water and relieve pressure first. Let epoxy cure fully before restoring water flow.
What are the signs of failing cast iron pipes?
Watch for rust-colored water, frequent clogs, slow drains, pinhole leaks, and visible cracks or flaking metal on exposed pipes. Basement drains and soil pipes may show white calcium buildup or dark corrosion. A flexible camera inspection can reveal hidden damage inside underground lines before it becomes a major leak.
When should a cast iron pipe be replaced instead of repaired?
Replace when the pipe has multiple cracks, significant rust through the wall, sagging sections, or repeated leaks after repairs. Pipes over 50 years old with widespread corrosion often fail again soon. A professional can assess pipe condition and recommend spot replacement, full drain pipe replacement, or no-dig relining based on the extent of damage.
